Showing posts with label DIY. Show all posts

Thursday, December 6, 2012

'Tis the Season!

I have never been a huge fan of Christmas. Well, at least the commercialized version.

But this year, I was really excited to get to decorate our apartment for Christmas. Maybe it was because it’s our first one as a married couple. Maybe it was because it was the first time I actually got to pick out my own decorations and do everything myself. And maybe it was because Pinterest is filled with a ton of amazing ideas. Definitely all of the above.

I still feel like there should be more decorations…but it’s our first Christmas, can’t go all out and buy everything at once! These things are supposed to be accumulated over time, right?

Well, since I had never been a fan of the traditional red and green Christmas colors, I decided I was definitely going to have to change it up. As luck would have it, the vast majority of our decorations are navy, light blue, white, and silver. I know, I know…you’re surprised. But I have to say, Scott was for the color scheme just as much as I was.

Now for some pictures and links.

Scott found this little guy at Walmart, so we had to get him.

IMG_0170

Pinterest has a lot of hoilday printables, and I found a couple to match frames that I already had. (The website where I found the Subway Art printable has free printables for almost every holiday. So check those out, too.) In between them is a mini Christmas scrapbook of sorts made out of paper bags. I made that a couple of years ago with my Mahm & Aunt Karri. And there is our first little nativity scene.

 
Free Merry & Bright Printable // Free Christmas Subway Art Printable

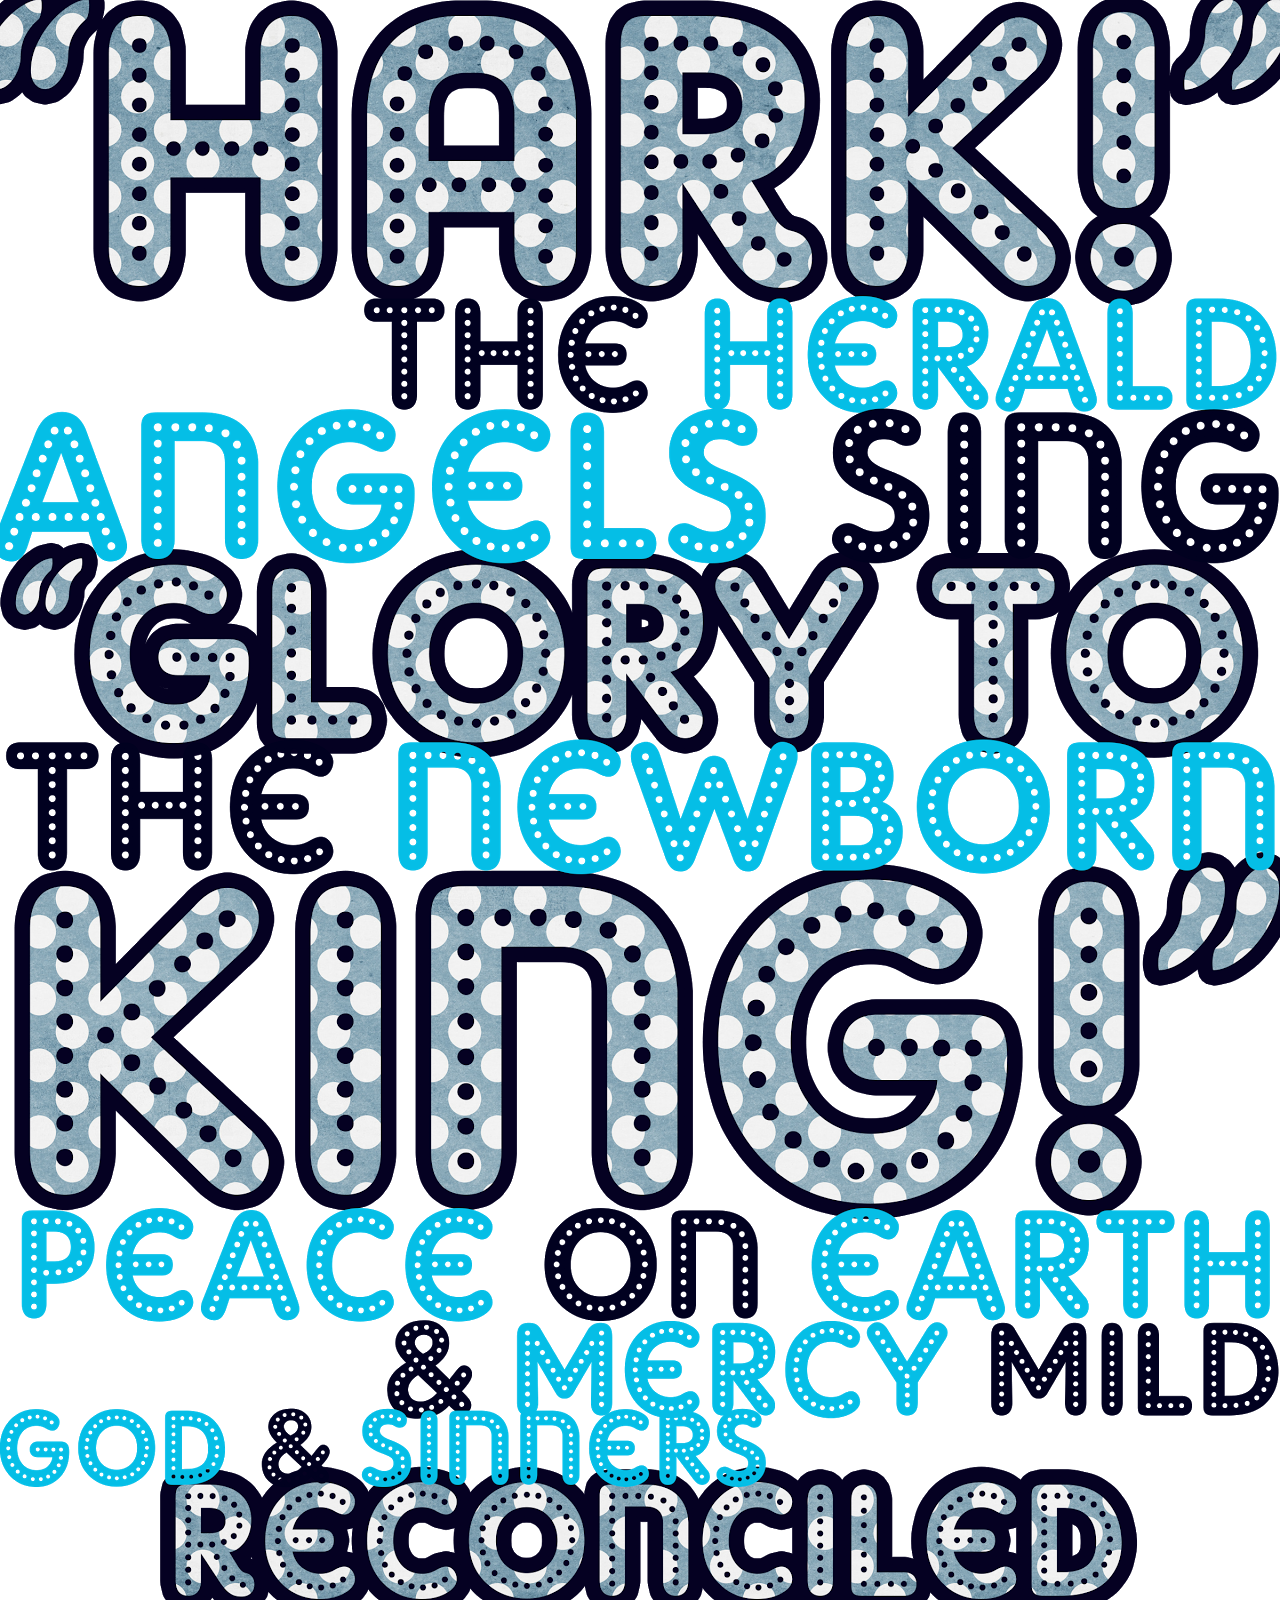
And today, because most Christmas printables seem to be in red & green, I decided to make one of my own. I need to buy a frame to put it in, but feel free to download it if it goes with your Christmas decorations.
(Click to enlarge and then "Save As.") It should be 8x10. The background is also transparent, so you could print it on any color of paper you would like.

I found this banner template and tutorial that I really liked (even though it was red & green) so I put it together and along with a red Santa hat Scott picked out, decorated this frame I got a while back from Ikea.

 Free Noel Banner Printable

Now for the two biggest projects. You know I couldn’t have done Christmas decorations without having to sew something.

My Mahm used to always see these ruffled tree skirts on Pinterest. And of course she always teased that I should make her one. I always meant to…but just haven’t gotten around to it. But then I decided that I should have one! :)

As luck would have it, my color scheme wasn’t too popular in the Christmas fabric sections of Joann’s or Hobby Lobby…so I had to go another route. I’m not normally one for glitter and sequins, but those are just about the only things I could find in the right colors. It’s pretty large and took a while, but it’s actually really simple.


And our Christmas tree with the skirt.


Ruffled Tree Skirt Tutorial

I then decided that making stocking would be better and maybe cheaper than buying them. Once again, I couldn’t find fabric to match the color scheme very well, but I figured grey was close enough to silver for it to work.

I followed the main “sock” part of the tutorial, but wanted to make a somewhat manly stocking for Scott and prettier ruffles for my own stocking.

I have to warn you, you can’t tell from the picture, but these stockings are HUGE. I didn’t know stocking stuffers were supposed to be as big as iPads and a pair of shoes! I’m telling you, they would fit in these stockings.

 
Free Stocking Tutorial & Pattern

I’ll probably add more, because I like to overdo things, but that’s all for now.
So there you have it. Our first married Christmas and all of the decorations that come along with it.

Friday, October 26, 2012

Flannel Onesie

Even though I can't yet share just yet where a great deal of my inspiration came from, I'm really excited about this post. (I'll share my main inspiration some other time.) But I had a plan to make a flannel baby onesie. And luckily for me, I found a pattern and tutorial for one! You can try it out here.

I didn't follow the pattern too closely, mostly I just used it to get an idea for size. I found this shirt at a discount store and really liked the look and the price wasn't too bad. I used it more for a guide than the pattern.

Before


(Forgive the poor quality, at this point I can't go back and take another picture! :))

I don't know how well you can tell, but the original shirt was put together in a pretty interesting way, but I knew it was going to make it difficult to get the look I wanted out of the onesie. So somewhere along the way, I had the bright idea that I was going to completely take apart the shirt. Yes, you can imagine how tedious that was. I even had to take off and reapply some of the pearl snaps. The center button placket (if you're like me, I didn't know what a placket was until I started this...in this case, it's the strip of buttons where the shirt opens) was about the only thing left standing.

So it was pretty slow work, what with the seam ripping and figuring out how the shirt was put together, but I finished it!

Are you ready?...


  After


I haven't decided yet if I'm going to add pocket(s) or anything else, but I have to admit, I'm pretty proud of how it turned out!

I'm sure I'll be making more of these for all of the lumberjack/cowboys in my life! 

Thursday, September 20, 2012

Salsa & When Mahm Comes to Town

Goodness! Time has just flown by since my last post! So much to tell!

I've slowed down on my sewing, but I have actually been cooking and baking a lot more than usual. I did, however, make another pair of shoes a while back. These baby shoes have become my favorite that I've made so far. And I absolutely love how this pair turned out! You can find the tutorial here.


Now, back to the cooking thing. A couple of weeks ago I spent what seemed like an entire day in the kitchen. For those of you who know me very well, that in itself is quite the miracle. But, I would definitely say it was worth the effort, because I got to use my stand mixer, try a new recipe, make my favorite salsa, and bake a cake. (The clean up efforts weren't quite so fun.)


Now, I consider myself a connoisseur of chips and salsa. Okay, maybe I really don't, but I do believe there are very few people that love chips and salsa as much as I do. And while a lot of Mexican food restaurants have great salsa, I can never find any bottled salsa at the store that tastes good. Too chunky and mild. So, as all of these stories tend to go, I found a recipe on Pinterest for some salsa. The caption on the pin said that it was the best salsa ever...so I decided it was worth a shot. Let me tell you, it may not be the BEST salsa I have ever tasted, but I think it's pretty great. Every time we run out, I make some more. It's so worth the fuss of making it rather than buying some less than mediocre salsa at the store.

You can find the original recipe here, but I could never justify making THAT much salsa at a time, so I modify the recipe.

     Roja Salsa
       Ingredients:
                  6-8 Roma tomatoes 
       1 white onion 
       6-8 Serrano peppers *these peppers are decently hot, so  
      this number depends on your taste. 
       4-6 cloves of garlic
       1 Tbsp salt 

       A few leaves of cilantro *I don't really like cilantro, 
     but the typical recipe calls for about a bundle in 
     comparison to the rest of the ingredients.

       Directions:
       Remove tops from peppers. Halve the tomatoes and onions 
     and lay cut-side up on a cookie sheet along with the 
     peppers and garlic. 
       Roast at 375 until the onions look nice and translucent, 
     tomatoes look soft, and peppers are getting a nice char on 
     them. 
       Let it all cool a bit, then run through the food processor 
     with salt and cilantro. I usually don't put all of the 
     ingredients in at once. I will start off with half of all 
     the ingredients, and then add serrano peppers, garlic, salt, 
     etc and keep doing a taste test until I get what I'm looking 
     for.  (That's why the ingredients aren't perfect numbers.)

But all in all, I really like this salsa and it's pretty simple. In fact, I am probably going to have to make some more once I am done with this post. Just talking about it has my mouth watering.

 
                                             ----------------------------------------------------

On another note, my mom came to visit last week! We had a lot of fun (at least I think so...right, mom? haha.) Well, apart from the fact that she wasn't so much a fan of the traffic and my driving...but hey! that's California! 

The first few days, I mostly took her places that I go to often so that she would have a mental picture of them when I talk about them later. We went to a couple of beaches on Monday. I snapped a few photos of the beach where Scott and I go to surf. 


Quite the vacation destination, huh?

When Scott and I first started dating my mom always talked about the San Diego Zoo. So of course we had to visit while she was here. She took a lot of pictures with Scott's camera, but unfortunately, the camera obviously has some problems and all of the pictures came out blurry. (Which reinforces the fact that my next investment should probably be a camera!) I did manage to take a few pictures with my phone. 
 

 That's a baby jaguar on the lower left. We spent a lot of our time at their exhibit. They were a lot of fun, acted just like regular kittens. And the zookeeper talked to us for a while and gave us a lot of great information. There were also some baby giraffes, as you can see in the picture. Who doesn't love baby animals!? There was a baby panda there as well, but he was so little that he isn't on exhibit yet, so we didn't get to see him. Over all, we had a good time at the zoo, but our bodies were hurting at the end of the day...and the next day.

Every Thursday they have what's called the Sunset Market in downtown Oceanside. Scott has told me about it, but I hadn't actually made it down there yet. So my mom and I went on Thursday evening. Basically, a lot of vendors set up booths in the middle of the street and sell anything from crafts, clothing, pillows, artwork, and more than anything food. I didn't manage to take a picture of this one. But it was pretty cool to check out.


On Friday, we went whale watching. Unfortunately, we didn't actually see any whales...but we did see a pod of about 60 or so dolphins. Which made the entire trip worth it. They were so fun and there were a lot of babies as well. They looked like little footballs with fins. Once again, we had Scott's camera, and even though I took a lot of video of the dolphins, they are all blurry. But here is a picture of the boat we went on.


Overall, a pretty great week. I always enjoy seeing my Mahm!

Wednesday, July 18, 2012

Summer in SoCal

Well, well...I gave my blog a new look. I'm digging it. It's definitely more "me." 

Now that Scott and I have actually been around each other more than just the weekends, I thought I'd do a post about some of the things we've been doing out in sunny California. Yes, we finally started taking advantage of some of the things San Diego has to offer. 

I had never been to Sea World, so you know I wanted to go. It turned out to be a lot of fun. I think wild animals are pretty amazing. The Shamu show had to be my favorite. Who knew these huge whales could break dance and do back flips?!  


I tried to sneak a penguin out in my back pack. No such luck.

Scott, our friend Ben, and I have been going to play baseball/softball here lately. I mean, we can't exactly scrimmage or anything, but it gets us outside and doing something athletic and active. We actually even do some hitting and fielding and stuff. Scott gets pretty serious about pitching. 


The San Diego County Fair was in town for a few weeks, so we had to hit that up as well. Have to say, the fair kinda felt like Texas. What with all the fried foods and livestock. I even got a snow cone. I've been missing those like crazy this summer because, oddly enough, beachy San Diego doesn't have snow cone stands. No pictures for this one. Though I do have some carnival prizes to prove it. Had to give my goldfish away though.

The Astros were in town this week. And since hubby prefers them to the better team in Texas (yes, I am trying to convert him into a Rangers fan) we went and watched them play the Padres. The good thing about the Padres...they aren't exactly a good team...and this=cheap tickets. I can't really complain though, we're going to watch the Rangers play the Angels on Saturday. And hopefully we'll catch a homerun ball out in left field.


 I've slowed down a little bit on my sewing projects. The debate of what to make is always a problem. But I have made a couple of things since my last crafty post. 

I wasn't sure the last harness I made for Bambi was going to stay on her because it just velcros together. She's already slipped out of it once when I tried it on her inside the apartment. And I definitely don't want my little rabbit getting loose at some rest stop on the way back to Texas; I may not ever catch her. (Though I'm sure Scott wouldn't mind.) So I decided I needed to add a parachute clip on the neck to make it stay. And well, for whatever reason, instead of just adding one to her first harness, I made a new one. This time, I couldn't resist adding a little bit of a ruffle. And Bambi decided to be a little model, so I actually got a couple of good pictures of her wearing it. This one seems to do the trick. Though I'm still pretty wary of taking her outside in it.


And this one is poor quality because I couldn't use my flash right in her face. But who can resist a close up? haha


And last week I made another girly onesie set. 


(If you're interested in purchasing a customized set like this, head over to my new craft blog, Facebook page, or email me at ruffledblues@gmail.com)

Apparently, I am on a polka dot kick.


But while we're on the subject of crafts...I have been debating for a while on whether or not I should start making stuff to sell. Of course, I'm no machine so I would only be able to take a few "orders" at a time and then knock them out on a first come first serve basis. But it's all for not if no one would be interested. So if any of you mommies, daddies, grandparents, aunts, uncles, etc would be interested in something like this, definitely shoot me a text or a message on Facebook so I will know that there is even any kind of interest. If not, that's okay, I'll just keep making baby things for the babies I will hopefully have in the far future! :) Oh and if you have a small dog that you would need a harness for, I could probably even do that. Maybe even some painted Rangers shoes! Or really, if you see something you want made, but don't want to do yourself, maybe I can do it. I'm up for trying out some new projects!


I'll leave you with a short video of Bambi. She has this habit of taking off with things I'm trying to use. And I find it hilarious. Seriously, she is so much like a puppy. Except with a bouncy butt.


Thursday, June 28, 2012

Baby Boots

I finally have something to show for my lack of blogging. 

Our friends Kaylyn and Trever have a beautiful baby girl. And I decided that I was going to take it upon myself to spoil her just a bit. I mean, she is the reason I started making baby clothes and then I pretty much got stuck on them...so she deserves more clothes in return, right?

well, I have this really hard time making decisions. Even if it's just what I'm going to sew today. So the other day, I let someone else do the deciding for me. I asked Kaylyn what she would like baby Avery to have and she said...a hat and boots. And immediately I thought...done and done. 

I'm really liking the newsboy hat...and maybe eventually I will branch out to other hats, but I decided to stick with it this time.


Then, as luck would have it, I saw these cute little boots on (none other than) Pinterest:


Needless to say, I was a fan. For the first time, I actually BOUGHT a pattern. So I won't be able to share a tutorial with you (not because I'm cheap..you know, this thing called a "copyright.") But you can buy the pattern and tutorial here. (You can also omit the ruffle to make boy boots. Maybe I will make some sometime.)

While mine didn't turn out as well as hers did, I was pretty happy with the end result. And I'm sure I will get better at making them with time.


I used fabric instead of felt for the ruffle. And I didn't have a handy-dandy little tool or snaps like hers, so I used buttons for looks and then tiny brass snaps on the inside to close the flap. 

And of course, because I get attached to the things I make, I had to have a pair to keep as well. 


I know, I know. Imagine me having something with this blue.

And here are the boots with their matching hats.


Can't wait to see baby Avery model hers! And maybe someday in the not-so-near future we will have one to model the other pair.

Wednesday, June 13, 2012

Newsboy hats, a vest, and a bunny

So, as expected, my blog posts are fewer and further in between.
But I finally have a few more projects to show you all.

Since I finally started making some boy onesies and shoes, I decided that there needed to have a third piece just like the girl outfits did. I finally found a newsboy hat tutorial. She explained it really well, but I had to adjust the pattern so that it would fit a baby instead of adult. I was worried about it, but I was SO excited about how it turned out. Now I just need to borrow someone's one year old to model it! :)


Scott really liked the baby hat and just had to have one.

Unfortunately, it didn't fit him right, so I will be making him another one sometime. But, the good news? It fits me! You'd think I did it on purpose. (I didn't.)


Bambi has been trying to trick me into thinking she is a puppy lately. Always chewing on things, running around like a maniac, and now...trying to get into the trash can.


Eventually, she got the cookie dough package out of it and tried to make me chase her for it. I'm telling you, she thinks she's a puppy. Little punk. But she's just so cute!

We're planning on going to Texas in the next few months and Bambi will have to go with us. Contrary to popular belief, rabbits weren't made to live in cages ALL of the time, so she will need some rests from riding in the car to run around outside for a while. Unfortunately, she is NOT a dog and won't come back to you when you call her. (Also, a dog might try to eat her!) So she'll have to have a leash. Yes, you read that right. A rabbit on a leash. It's possible, people! Funny, yes...but possible.

So they sell these so-called rabbit harnesses at the pet stores, but they are like 10 or so dollars. So being the person that I am..I decided it couldn't be too hard to make. Plus, I figured I could make one much cuter and for much cheaper than the ones I have found at the pet stores.  

I found this pattern and tutorial. Of course, it is actually for a dog, so I had to adjust it. But I like the way it turned out.


It looks a lot like a vest. But she seems to like it alright. We'll see how it actually works out. But feel free to laugh because it's funny to see a rabbit wearing a harness/vest.

In other news, Scott is off of his 24 on/24 off schedule and will soon be coming home to stay! We. can't. wait. It'll be good to no longer have a long distance relationship. 


That's all for now. 
So long from the West Coast!

Tuesday, May 22, 2012

More Onesie Sets

So I have this problem.

I've started making onesie sets and now I can't stop! 

My first attempt was successful enough that I wanted to try it again. And again. And again. And I think there are probably more to come. 

I decided that it was time to ditch the ruffles and try something for a baby boy. The problem was, I like colorful and pretty things, aka girly things. So I only had a couple of fabrics that could be used. At least it made my decision easy. (I'm not good with those.)

So I mixed and matched a couple of things I had seen, and this is what I came up with.


I think it's pretty cute, in spite of its lack of ruffles.

I couldn't stay away from the ruffles for long though, so I made another set for one of my friends who has a baby girl on the way. 

I went back to the Mila baby shoes for this one. I think they turned out better than the others I've made. 


And then of course, I decided I just HAD to spoil our little "niece" with a set of her own, too! I LOVE how this one turned out. Probably my favorite so far.

I made a different flower this time. Can't remember where I found this tutorial. But maybe I'll do one of my own sometime. It's pretty simple.


Well, that's all for now. Hopefully tomorrow I will post a little update on our life!

So long from the West coast! ;)

Wednesday, May 9, 2012

Baby Onesie!

After painting only three pairs of Rangers shoes, I was pretty tired of painting. Period. So I decided I would go back to the sewing machine.

Not that I'll be having babies anytime soon, but I have gotten hooked on making things for babies!  And I had seen this really great idea--once again, on Pinterest (no surprise there!)--so I decided I would try it out. It turned out to be extremely simple. Especially since I just used one of her templates for the giraffe instead of drawing something myself.  

I decided that I would make it match some of the shoes I had already made. 
These Kimono shoes:


Here's the onesie:


I liked the look, but it seemed too plain to me. I wanted to at least add a ribbon bow to it, but wasn't sure if it would get ruined when washed. (If any of you know, please tell me.)
So I set out to find something else I could do to the onesie. I remembered seeing things with ruffles on the little baby bottom and thought it was adorable, so I found this tutorial. I had to modify it some, because I didn't have a serger...but the idea is the same.


And well, what little girl's outfit is complete without a large bow/flower of some sort? I can't remember where I found a tutorial for this fabric flower because I started making them several years ago. 

I like putting flowers/bows on clips so that they can either be interchanged on a headband or clipped right onto the head. I had bought some stretchy headbands at Hobby Lobby (they're only like 79-99 cents) a while back, so I made the flower and just put the flower on one I already had. 


And all together:


Oh and did I mention I recently discovered they now have Instagram for Android? So you will probably be seeing a lot of these mini collages from me. :)

And that's my craft of the day!

If you have any suggestions about what I should make next or even blog about next feel free to let me know!

So long from the West Coast.

(Hubby makes fun of my little catch phrase. What can I say? I love cheesy sayings!)

Monday, April 30, 2012

Another pair of Rangers Shoes

Last post I mentioned a new pair of shoes I was working on. Not that you all have been anxiously awaiting them, but I finally finished them today. I think.

The more I looked at the first pair of Texas Rangers shoes, the less I liked them. Which I am sure will be true for this next pair. I think I just didn't like the Target shoes in general compared to Toms. I still wasn't too ready to spend so much money on a pair of shoes that I might ruin, so I found a pair of shoes that looked more like Toms at Wet Seal. 

They didn't have plain white shoes, so I had to choose between navy and red. For whatever reason, I went with the navy. I wasn't too sure the paint would show up very well on the shoes and it turns out, it took a lot of work and coats to get it to show up. Which is a shame, because I think if I would have had plain white shoes, I would have painted more and they would have turned out better. But overall I'd say I like these shoes better than the first. 


And since I wasn't a huge fan of the first shoes themselves, I told my mom I was going to do her another pair of shoes. So here they are.